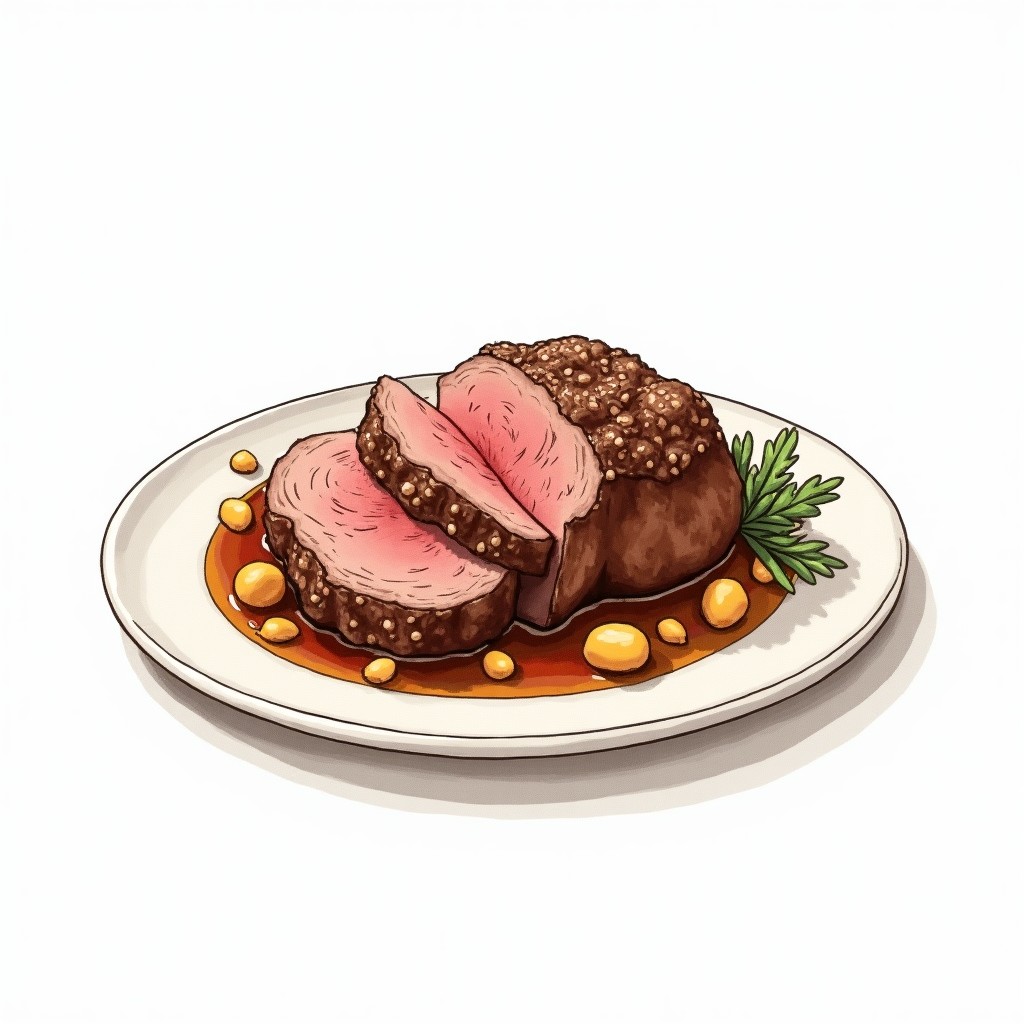
Smoked Chuck Roast
Low and Slow Chuck Roast with Rich Pan Drippings
Chuck roast rewards patience — the long smoke breaks down tough connective tissue into something that practically falls apart at the touch of a fork. That final braising step in beef broth creates incredibly rich pan juices that turn every slice into something special.
There's something deeply satisfying about committing seven and a half hours to a single piece of meat. Chuck roast asks for this kind of devotion — it's a tough, marbled cut that laughs at quick cooking methods but transforms into pure comfort when you give it the time it deserves.
The beauty of this approach lies in that crucial temperature shift at 165°F. Up until that point, you're building flavor and starting the breakdown of connective tissue through gentle smoke. But when you wrap that roast in foil with beef broth and push the heat up slightly, you're creating a hybrid cooking method that combines the best of smoking and braising. The result is meat that pulls apart in tender strands while those pan juices develop into something rich enough to make gravy jealous.
Chuck roast earned its reputation as a budget-friendly cut, but don't let that fool you into thinking it's second-rate. The marbling that makes it perfect for pot roast also makes it ideal for low-and-slow smoking. Those ribbons of fat and connective tissue that would make it chewy if cooked quickly become the very thing that keeps each bite moist and flavorful when cooked with patience. This isn't fast food — it's the kind of cooking that fills your house with anticipation for hours before dinner.
Ingredients
- 3½ lbchuck roast, well-marbled
- 1 tbspcoarse salt (kosher or sea salt)
- 1 tbspcoarse ground black pepper
- 1 tspgranulated garlic
- 2 cupunsalted beef broth
- yellow mustard (helps rub adhere)(optional)
Instructions
- Pull the chuck roast from the refrigerator and let it come to room temperature for 45-60 minutes. Cold meat takes longer to cook evenly, and this step ensures the interior warms at the same rate as the exterior.⏱ 55 min
- Fire up your smoker to 225°F using oak, apple, hickory, or pecan wood. Keep the lid closed and let it stabilize for 10-15 minutes — you want clean, steady smoke, not the thick white stuff from the initial lighting.⏱ 15 min
- Mix the salt, black pepper, and granulated garlic in a small bowl. This simple trio lets the beef flavor shine while adding just enough seasoning complexity.
- Coat the roast generously with the dry rub, working it into every surface with your hands. If you're using mustard as a binder, brush it on first — it helps the rub stick and adds a subtle tang.
- Center the roast on your smoker grate and maintain 225°F for approximately 4 hours. You're looking for an internal temperature of 165°F — this is where the magic of low and slow really starts working on those tough fibers.⏱ 4 hrs
- Pour the beef broth into a disposable 9×13 aluminum pan. The broth will catch drippings and create the braising liquid that finishes the roast.
- Once your roast hits 165°F, transfer it directly into the pan with the broth and seal tightly with heavy-duty foil. This creates a steamy environment that pushes the meat to final tenderness.
- Bump your smoker temperature to 250°F, or move the whole pan to a 250°F oven if your smoker runs hot. Either method works perfectly for this braising phase.
- Continue cooking until the internal temperature climbs to 200-203°F, roughly 3 more hours. At this temperature, the collagen has fully broken down and the meat will shred easily with a fork.⏱ 3 hrs
- Remove from heat and keep the foil sealed. Let it rest for 30 minutes — this allows the juices to redistribute and the meat to finish cooking in its own heat.⏱ 30 min
- Lift the roast from the pan and slice against the grain with a sharp knife. Spoon those rich, beefy pan juices over each serving — they're liquid gold.
Tips & Tricks
- Don't skip the room temperature step — cold meat from the fridge can create uneven cooking where the outside overcooks before the center catches up.
- Watch your smoke color in the first hour; clean, thin blue smoke is what you want, not thick white billows that can make the meat bitter.
- When wrapping in foil, make sure the seal is tight — any steam leaks will slow down that final braising phase.
- Save those pan drippings even if you don't use them all at dinner; they'll keep in the fridge for days and make incredible gravy or soup base.
- If your roast is significantly larger or smaller than 3.5 pounds, plan about 1.5 hours per pound for total cooking time.
Frequently Asked Questions
Can I finish this in the oven instead of keeping it on the smoker?
Absolutely — once you wrap the roast in foil with broth, moving it to a 250°F oven works perfectly and might give you more consistent heat. You'll still get all that smoky flavor from the first four hours.
What if I don't have a meat thermometer?
Time becomes your guide: plan about 4 hours at 225°F before wrapping, then another 3-4 hours at 250°F. The meat should shred easily with a fork when it's ready — if it's still firm, give it more time.
Can I make this ahead for meal prep?
Yes, and it actually improves overnight. Cook completely, then refrigerate the sliced meat in its pan juices. Reheat gently in a low oven or slow cooker — the meat will soak up even more flavor.
Why does the recipe call for unsalted beef broth?
The dry rub already adds plenty of salt, and as the broth reduces during cooking, salted broth can become too intense. Unsalted gives you better control over the final seasoning level.