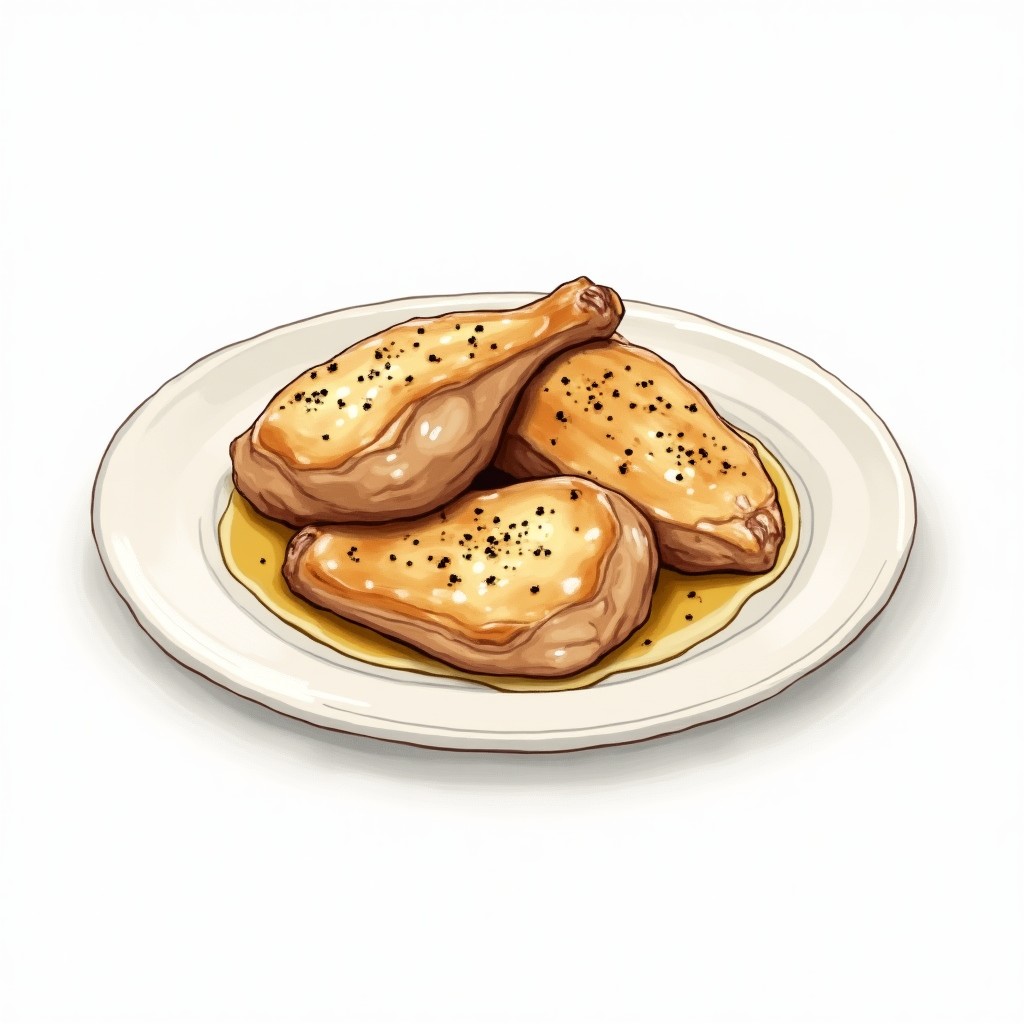
Cast Iron Chicken Thighs
Perfect Cast Iron Chicken Thighs
There's something magical about the way chicken skin renders in seasoned cast iron — it gets impossibly crispy while the meat stays juicy. This technique uses high heat to start, then lets the oven do the heavy lifting for foolproof results every time.
The best chicken thigh I ever ate came from a cast iron skillet that had been seasoned for decades. My grandmother's pan had this almost black patina that seemed to grab onto chicken skin and transform it into something extraordinary — crackling crisp on the outside, impossibly tender underneath.
Cast iron and chicken thighs are a perfect match because they solve each other's biggest challenges. Dark meat needs time and heat to render properly, while cast iron needs fat to maintain its seasoning. When you start these thighs skin-side down in a screaming hot pan, the rendering fat bastes the meat while building layers of flavor in the skillet itself.
This technique borrows from both stovetop searing and oven roasting, giving you control over the browning while letting the oven's steady heat finish the job. The result is chicken with skin so crispy it shatters when you bite it, and meat that stays juicy even if you accidentally overcook it by a few minutes. Once you master this method, you'll understand why cast iron devotees guard their skillets so fiercely.
Ingredients
- 6 bone-in, skin-on chicken thighs
- kosher salt
- freshly ground black pepper
- 1 tbspvegetable oil (or neutral oil of choice)
Instructions
- Get your oven heating to 450°F and season the chicken thighs generously with salt and pepper on both sides. Don't be shy with the seasoning — the skin can handle it and needs it to develop proper flavor.
- Heat the oil in your 12-inch cast iron skillet over high heat until it shimmers but hasn't started smoking yet. The skillet should be hot enough that the chicken sizzles immediately when it hits the pan.
- Place the chicken thighs skin-side down in the hot skillet and let them sear undisturbed for 2 minutes. Resist the urge to move them — this initial sear starts the rendering process.⏱ 2 min
- Drop the heat to medium-high and continue cooking skin-side down for about 12 minutes, occasionally rearranging the thighs and rotating the pan for even browning. You'll see the fat rendering out and the skin turning golden. This is where patience pays off.⏱ 12 min
- Move the entire skillet into the oven, then immediately flip the thighs skin-side up and roast for 15 minutes. The oven's even heat will cook the meat through while keeping that skin crispy.⏱ 15 min
- Keep roasting until the skin is deeply golden and the thickest part of the meat reaches 165°F, about 10 minutes more. The skin should sound crispy when you tap it with tongs.⏱ 10 min
- Transfer the thighs to a serving plate and let them rest for 5 minutes before digging in. This brief rest lets the juices redistribute, ensuring each bite is as succulent as possible.⏱ 5 min
Tips & Tricks
- Pat the thighs completely dry before seasoning — any surface moisture will steam the skin instead of crisping it.
- Don't flip the thighs during the stovetop phase; moving them too early prevents proper browning and can tear the skin.
- If your cast iron is newly seasoned or sticky, add an extra splash of oil to prevent sticking during that initial sear.
- The rendered fat left in the pan makes incredible roasted vegetables — toss in halved potatoes or Brussels sprouts for the last 20 minutes.
- These thighs reheat beautifully in a 375°F oven for 8-10 minutes, and the skin stays surprisingly crisp.
Frequently Asked Questions
Can I use boneless thighs for this recipe?
Boneless thighs work but cook faster — reduce the oven time to about 18-20 minutes total. The bone helps regulate temperature and keeps the meat extra juicy, so you'll lose some of that insurance against overcooking.
What if I don't have a 12-inch cast iron skillet?
A 10-inch skillet works fine but you might need to cook in batches to avoid crowding. Any heavy, oven-safe pan will work — just avoid non-stick since it can't handle the high heat needed for proper searing.
How do I know when the skin is properly rendered?
Look for deep golden color and listen for the sizzling to quiet down — that means most of the water has cooked out of the skin. The thighs should release easily from the pan when ready to flip.
Can I season these ahead of time?
Absolutely — seasoning up to 24 hours ahead actually improves the flavor and helps dry out the skin. Just store them uncovered in the fridge so the skin stays dry.